Your first verified build
From a project folder to a playable Windows artifact.
Prepare your project and computer
Have a working game project on a Windows x64 computer. Choose its engine so the requirements match your project. Keep a backup and enough disk space for an isolated source snapshot and the resulting build.
- You know the engine and project version, have access to the source, and can identify the Windows target you want to build.
Install and sign in
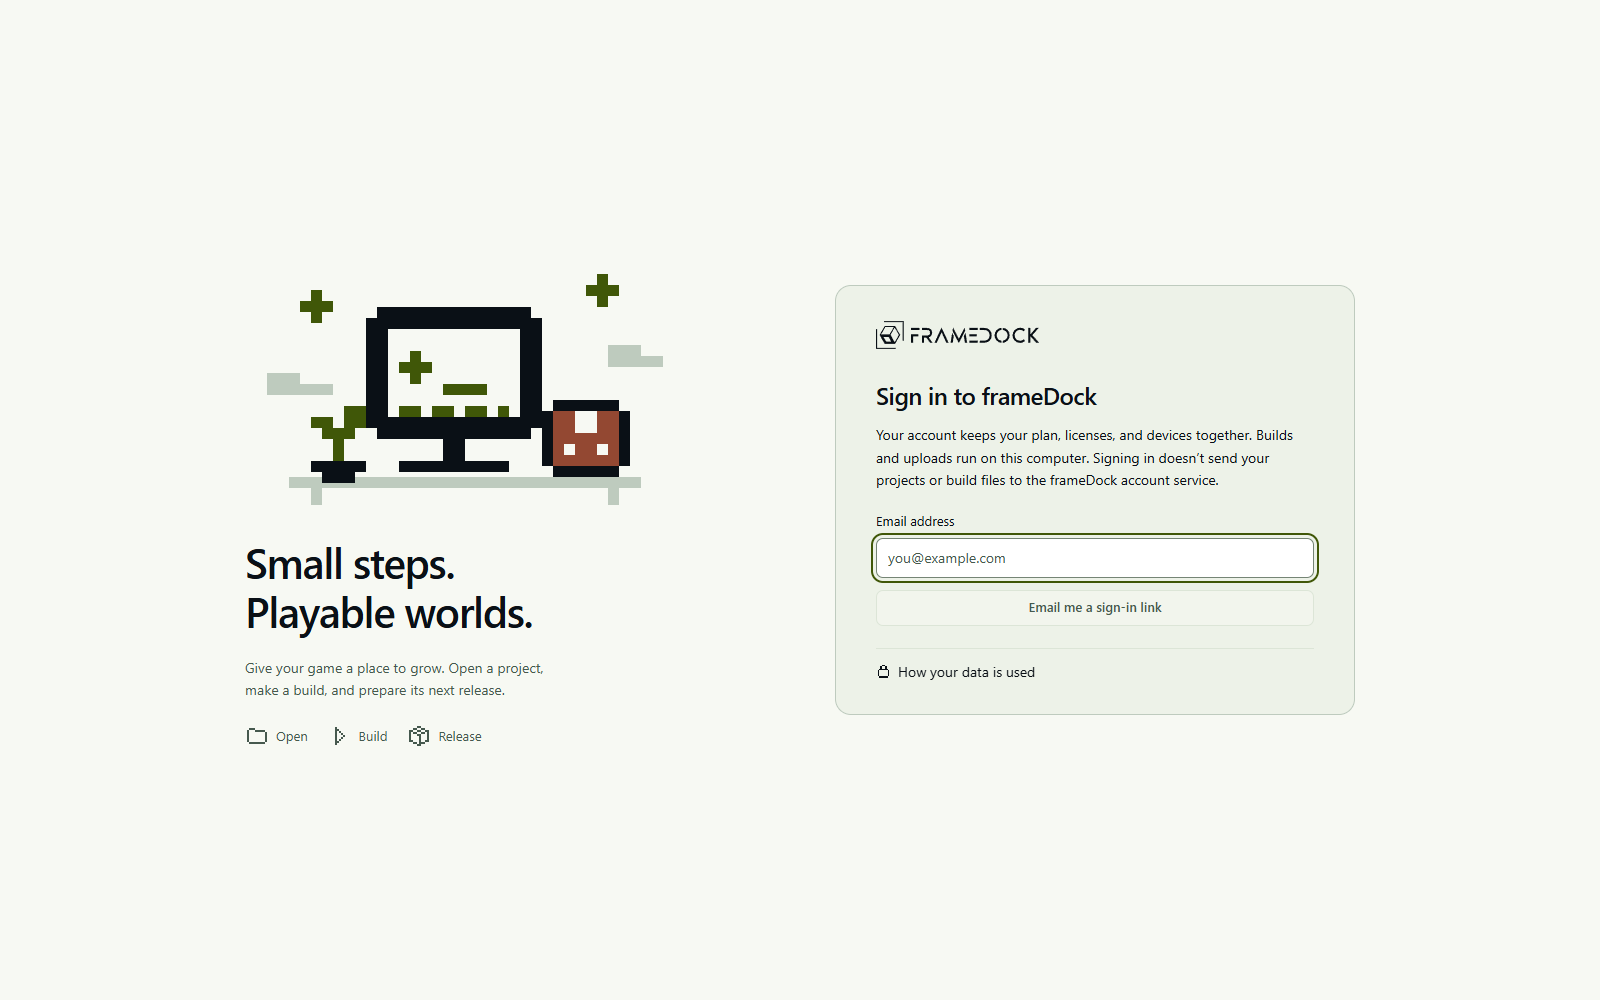
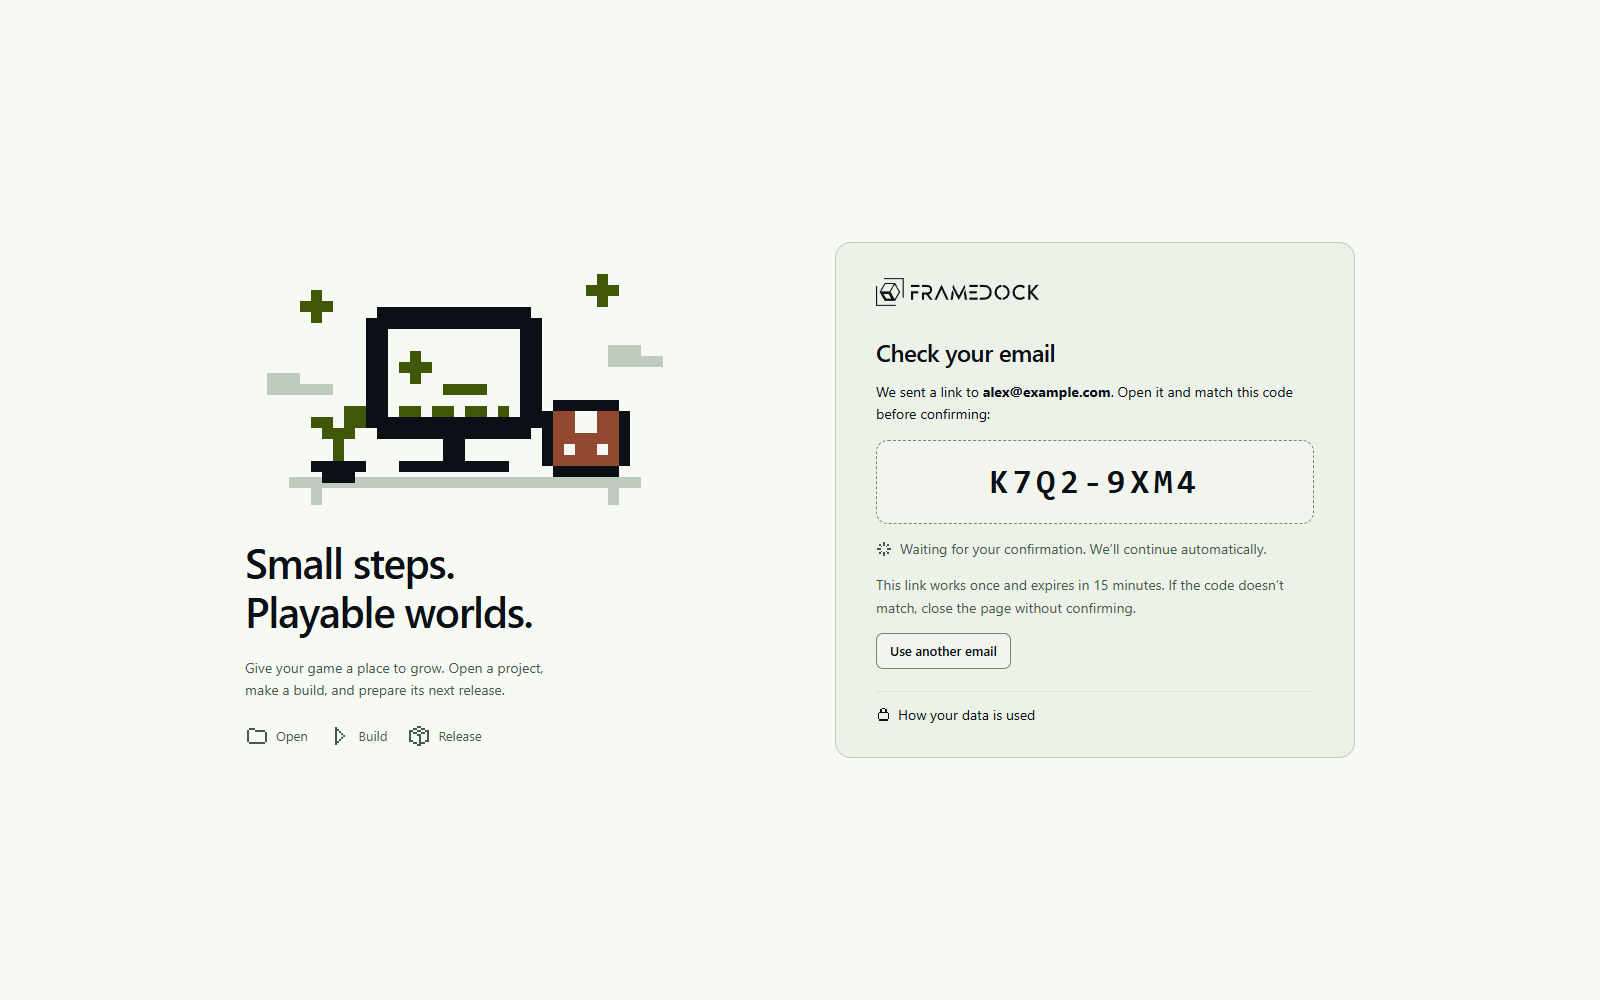
Use the download supplied through your verified frameDock account. Launch the Windows application, then approve its email sign-in request using the matching code. Microsoft WebView2 is required. Public sign-up is currently closed; existing access and the guide can still be reviewed.
- The application opens into your local workspace and the approved computer is associated with the correct account.
These captures show the actual interface using a local verification account and sample email/code. They illustrate the controls; real email delivery, device approval and signed installation remain release verification gates.
Open the game project
Choose Open project, or use Setup → Project. Select your local folder or an authorized GitHub repository. For the shortest first-build path, use a local project; GitHub authorization is optional.
- The project overview shows the correct engine and version. Project source is detected, and the source remains in its original location.
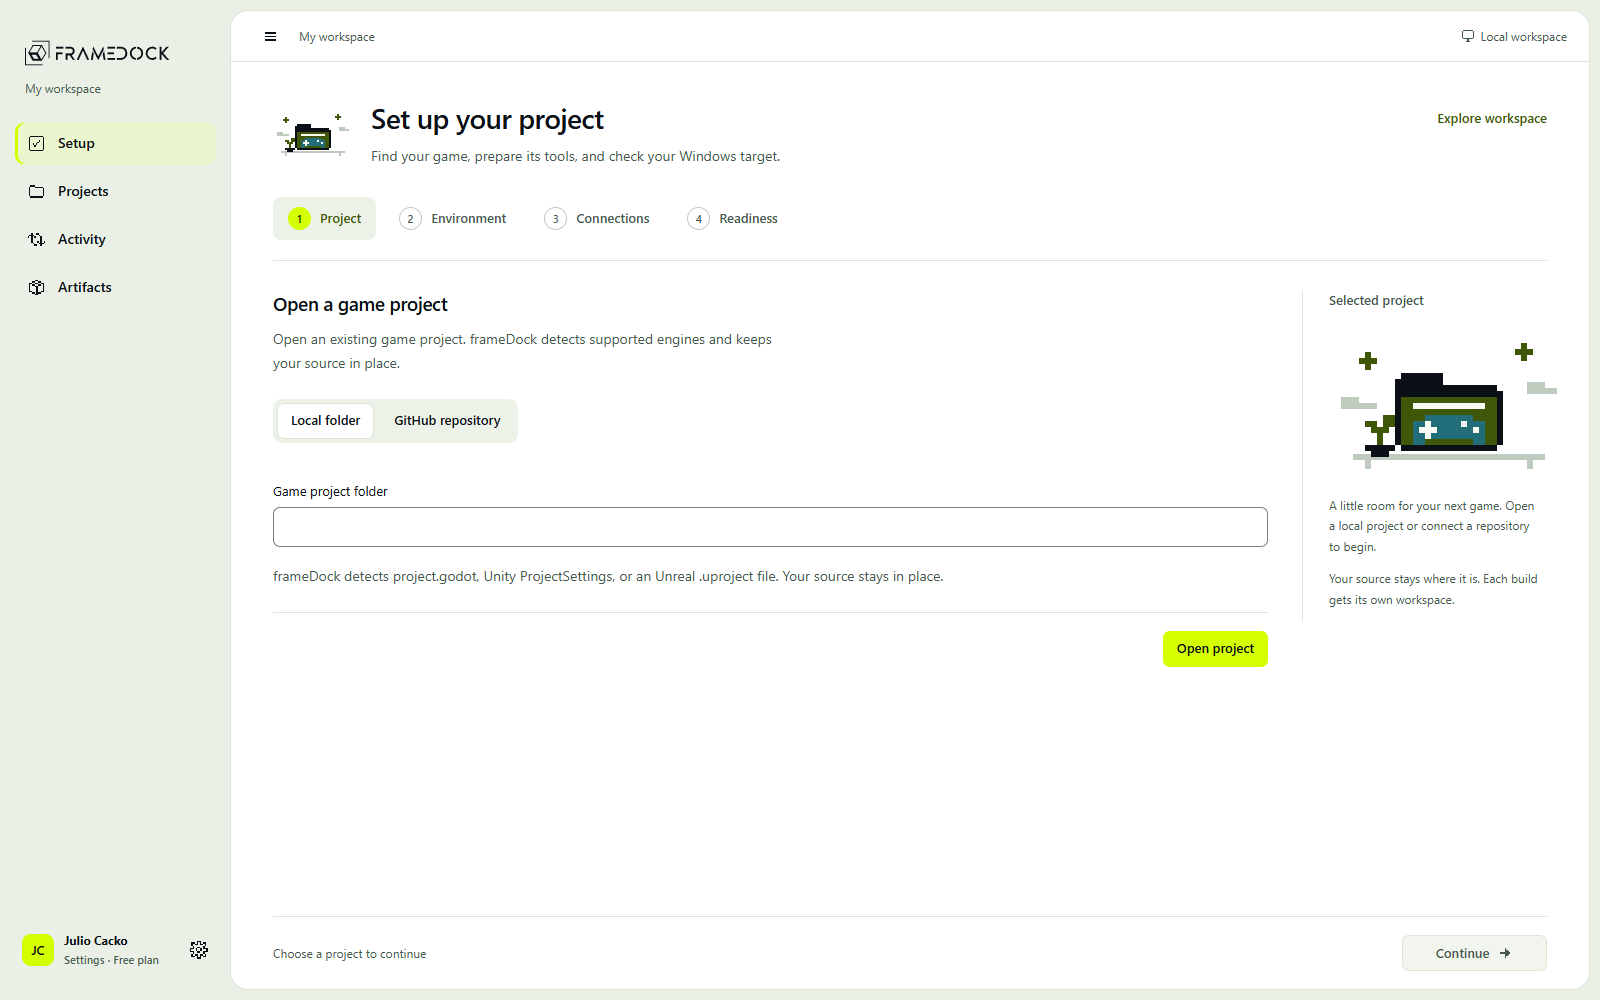
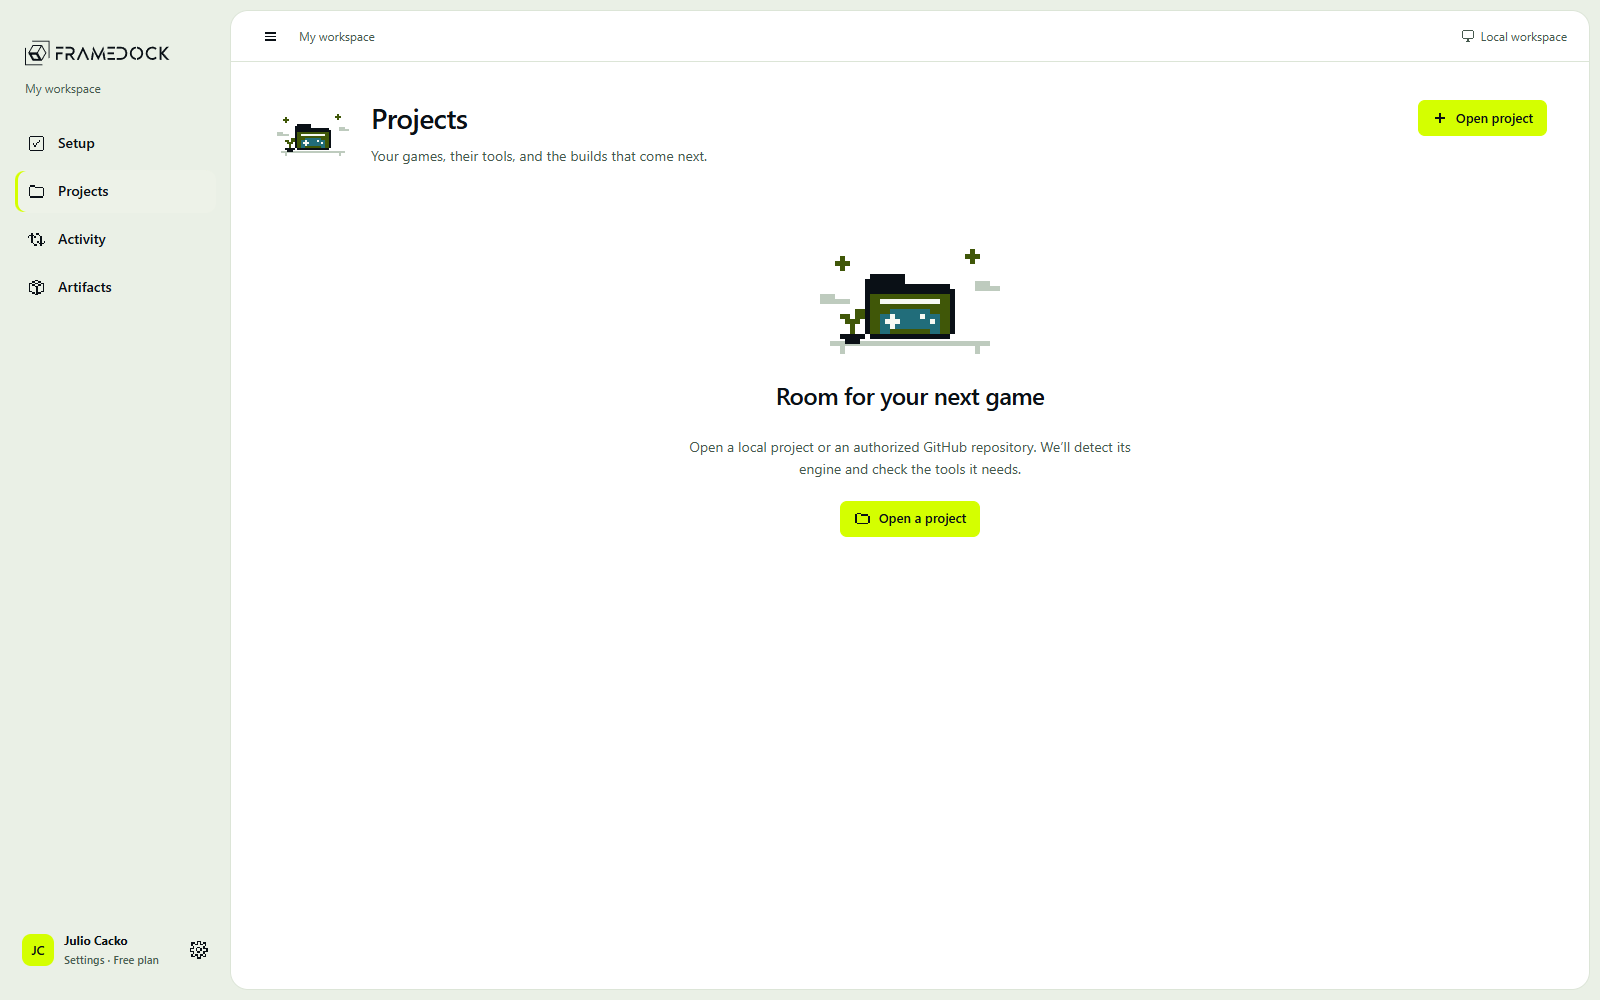
Resolve the Windows environment
Open Setup → Environment. Reuse a compatible detected installation or select the correct executable. Review required templates, modules, license and toolchain. Approve any vendor installation or license action explicitly.
- Required environment rows report verified checks for the selected project and Windows target. An installed editor alone does not satisfy every build requirement.
Connect publishing services only if needed
A local build does not require a store account. If you want source access or publishing, use Connected accounts for GitHub, itch.io or Unity, then Project settings → Publishing for the destination. Discord delivery notifications are optional.
- Only the services you intend to use are configured. Detected credentials, verified account access and a complete publisher destination remain separate states.
Optional for a local build.
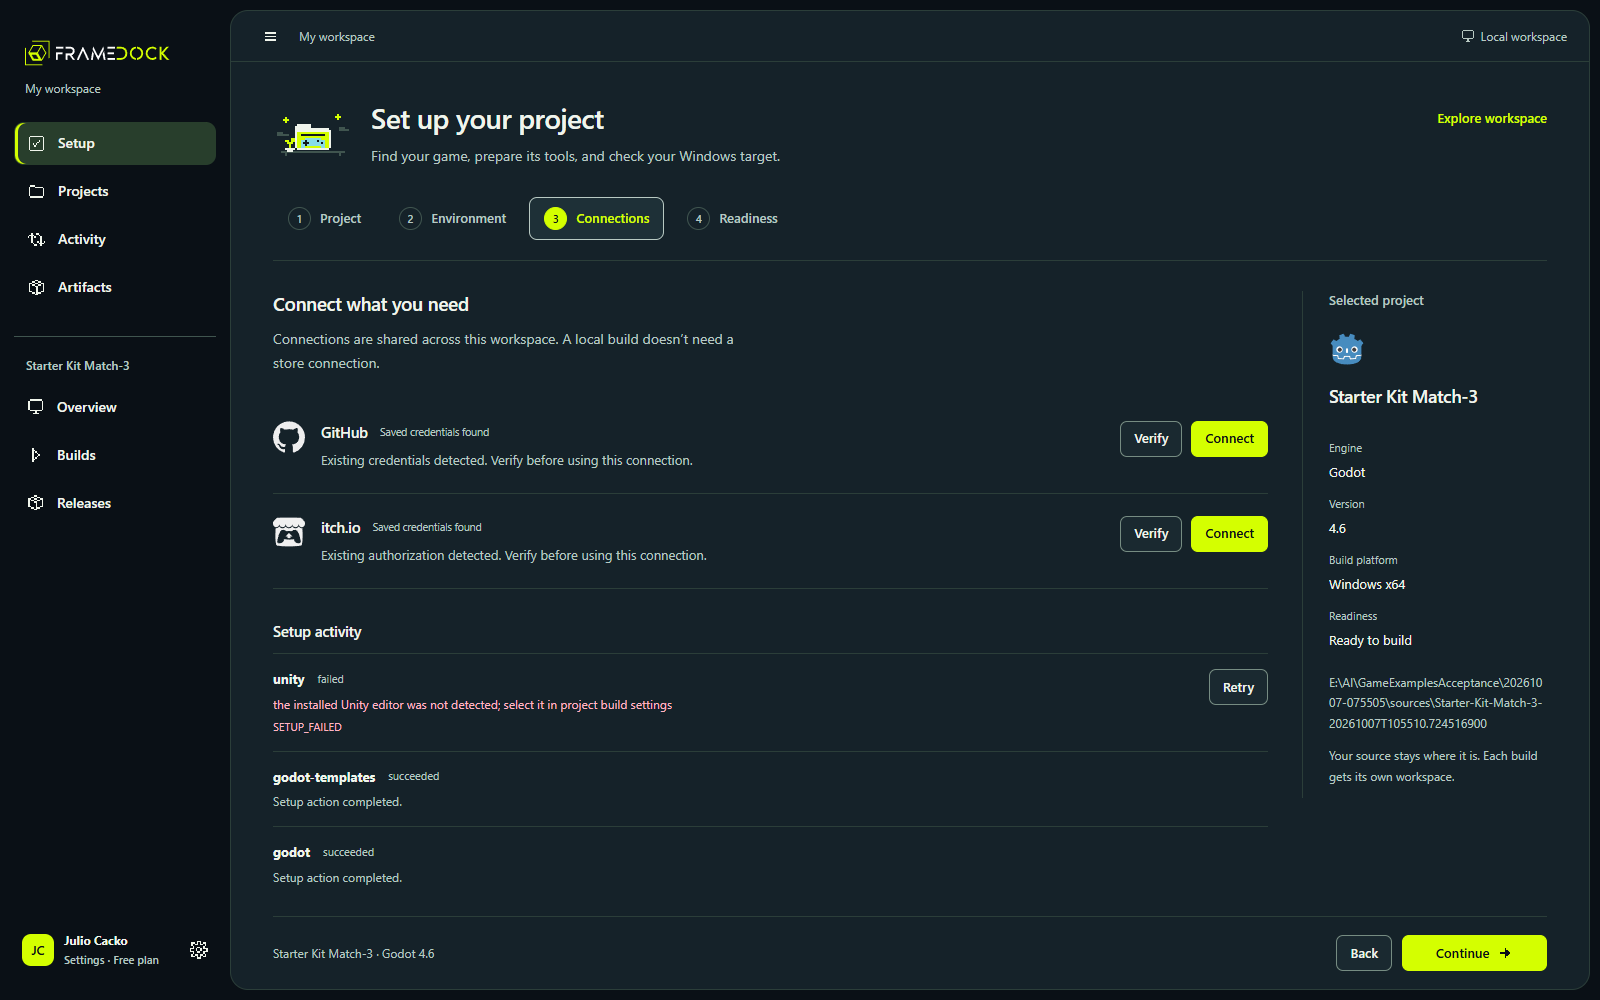
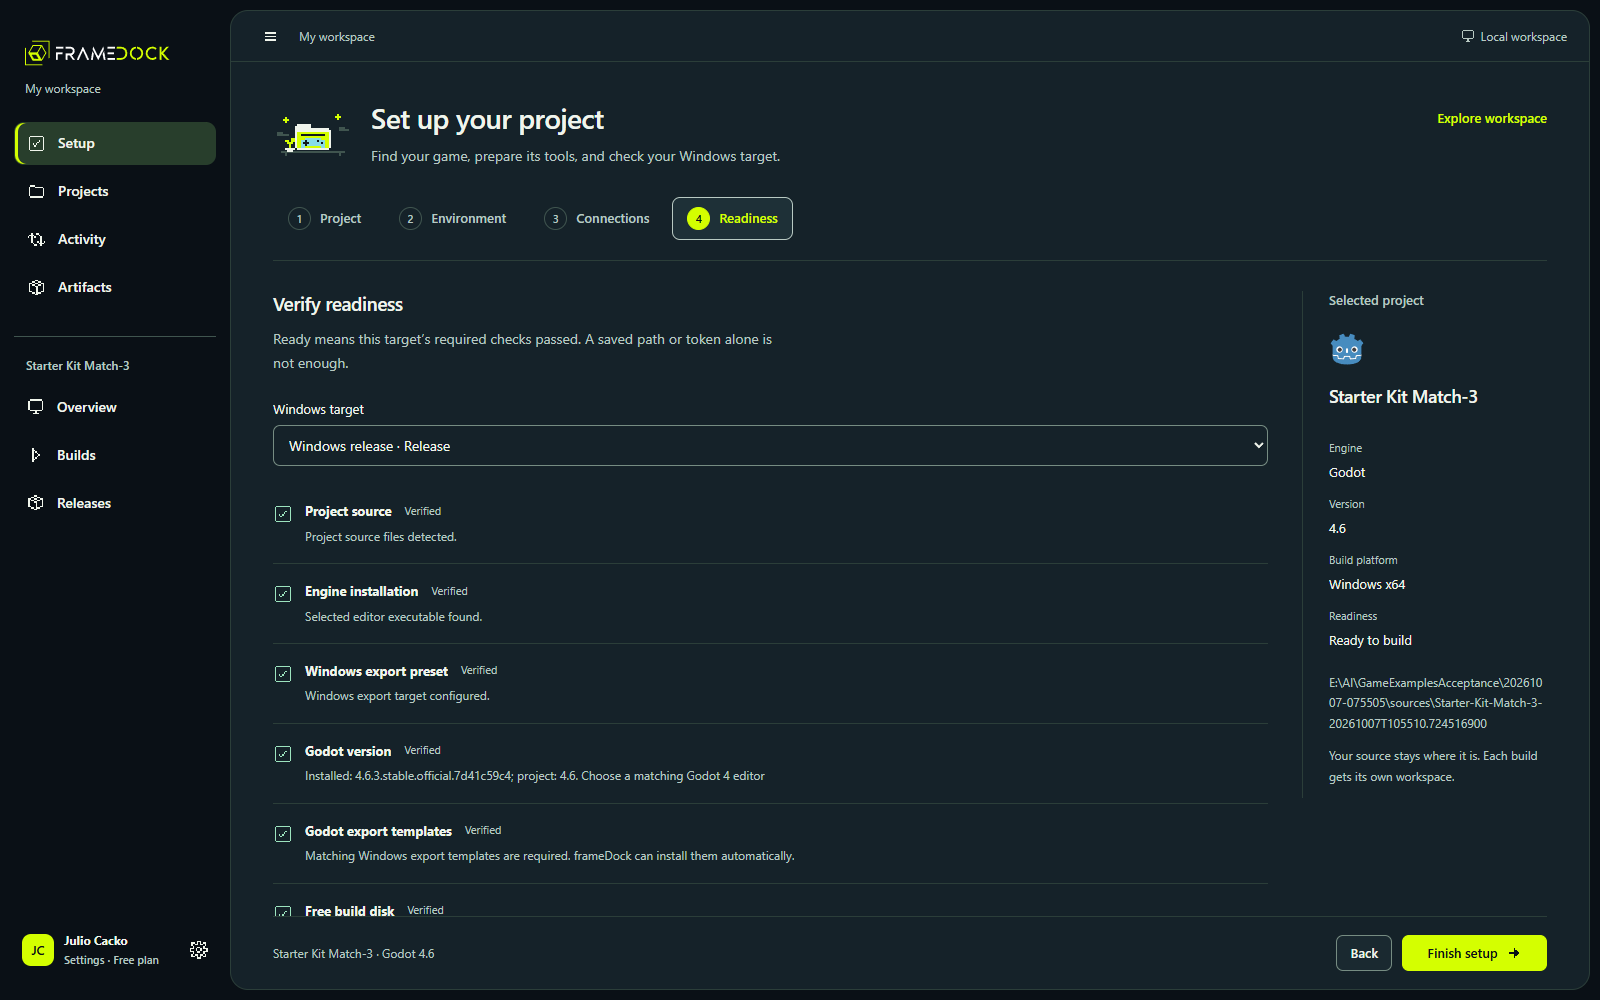
Run the final readiness checks
Open Setup → Readiness and recheck the selected Windows target. Finish requires the required checks to pass. Then return to the project overview.
- The app reports Ready to build or Setup checks passed for the selected target. Optional publishing connections do not block a local build.
Run and inspect a Windows build
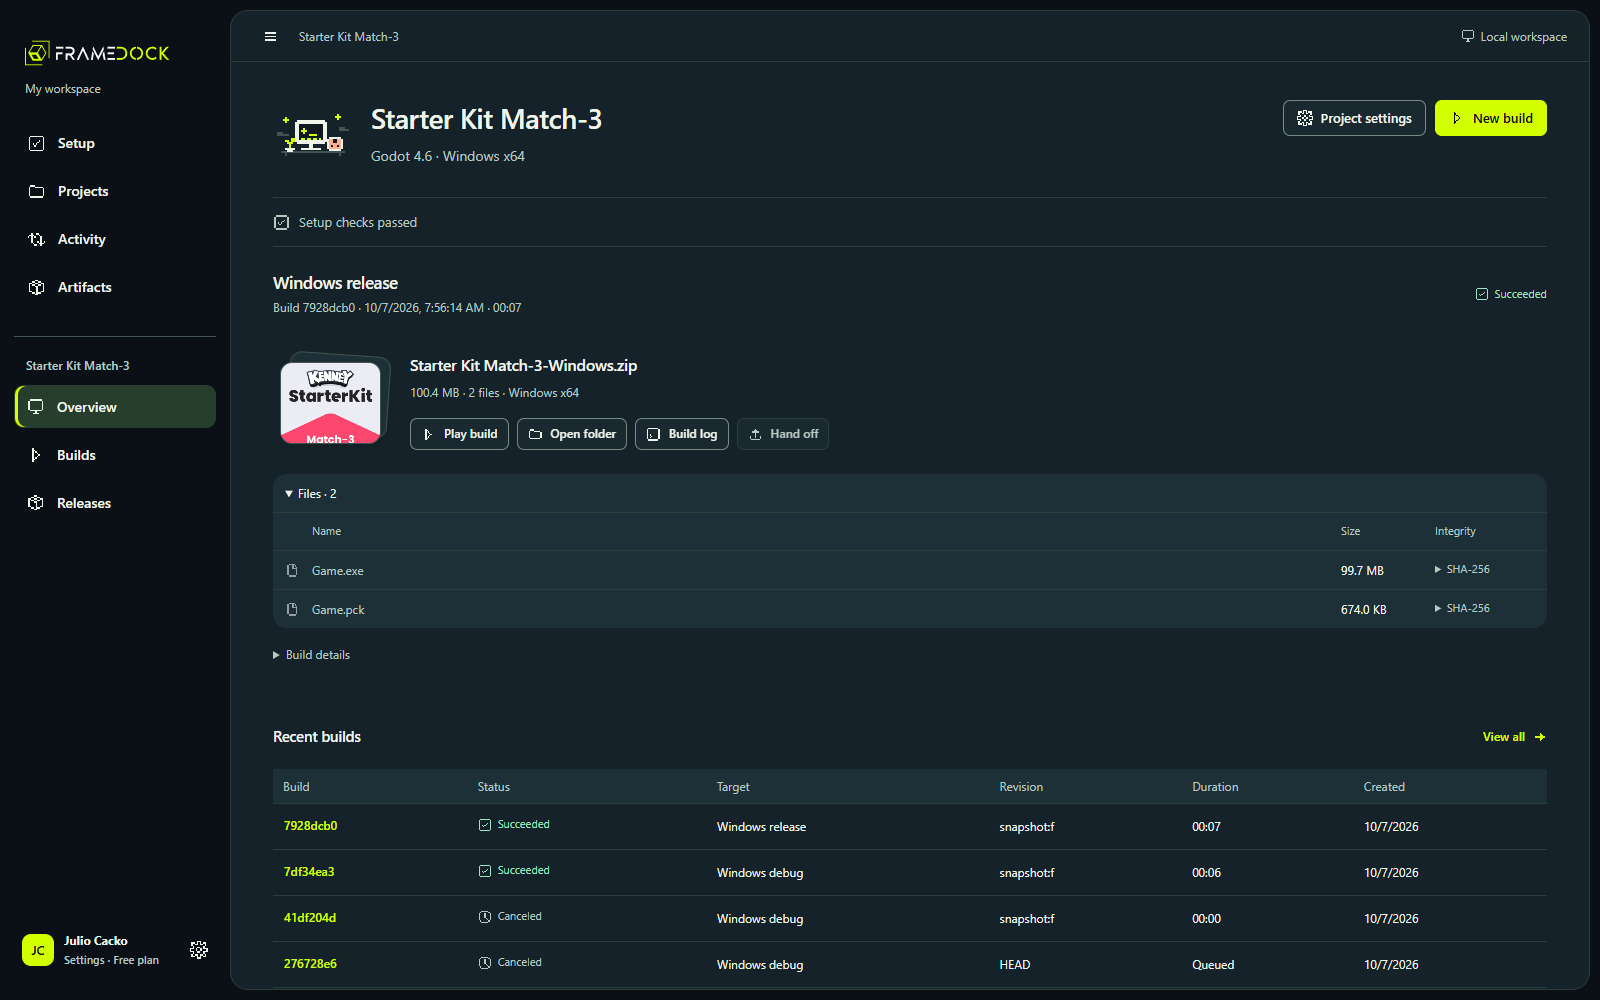
From the project overview choose New build, select the Windows target/configuration, and start the build. Follow the queue, diagnostics and raw engine log. Wait for completion before inspecting the produced artifact.
- A completed run has a Windows archive and file manifest. The example clip starts a real Godot build; your own project and run must succeed independently.
Check the files and play the game
Inspect the ZIP’s listed files and SHA-256 values, extract it into a fresh folder, and launch the game. Check its entry screen, input and the main behavior that matters for your project. Keep the build configuration and log with the artifact.
- The extracted files match the manifest and the actual game launches and responds. This is your first meaningful result—not merely installation or a green build status.